Introduction
Classic Tiramisu—even just saying it sounds indulgent, doesn’t it? This beloved Italian dessert isn’t just a sweet treat; it’s an experience—layered, rich, and laced with espresso-soaked memories. Whether you’re hosting dinner, celebrating date night, or simply indulging your sweet tooth on a random Tuesday, this recipe brings that café-in-Rome feeling right to your kitchen table.
A guide on the History of tiramisu
Table of Contents
Print Recipe
Classic Tiramisu
Equipment
- Mixing bowls
- Electric mixer
- 9×9‑inch Pan
- Sifter
Ingredients
Coffee Soak
- 1 cup strong brewed espresso or coffee cooled
- 2 tbsp coffee liqueur (optional)
Cream Layer
- 8 oz mascarpone cheese softened
- 3 egg yolks
- 1/2 cup granulated sugar
- 1 cup heavy cream cold
- 1 tsp vanilla extract
Assembly
- 24 ladyfingers
- unsweetened cocoa powder for dusting
Instructions
- Pour espresso (and liqueur, if using) into a shallow bowl and let cool.
- In a bowl, whisk egg yolks and sugar over a double boiler until pale and thick (about 5 minutes), then cool slightly.
- Mix mascarpone and vanilla into the yolk mixture until smooth.
- Whip cold heavy cream to stiff peaks in a separate bowl, then gently fold into mascarpone mixture.
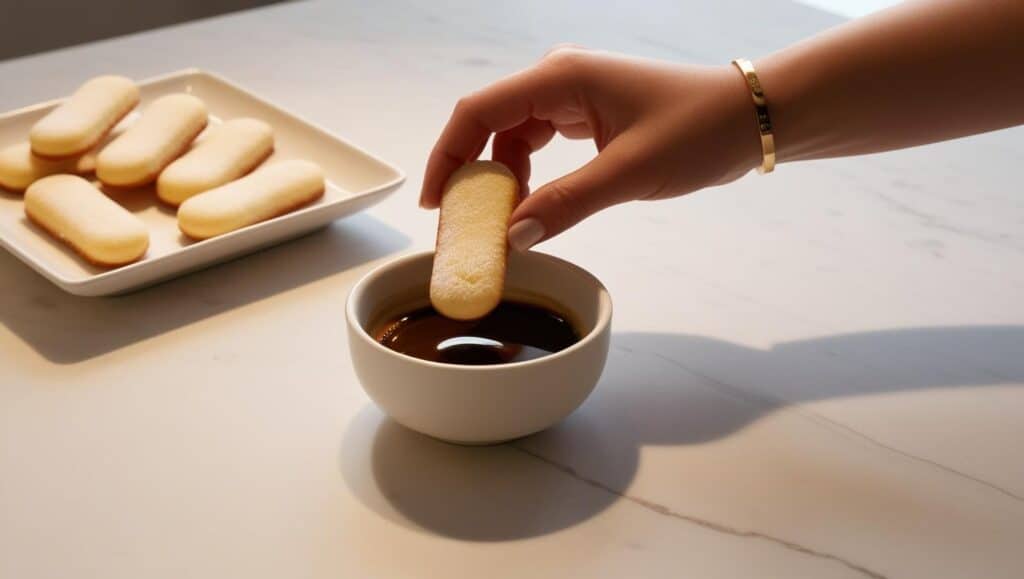
- Quickly dip each ladyfinger into coffee mixture (don’t soak) and lay half in pan.
- Spread half of the cream mixture over the ladyfingers.
- Repeat with remaining dipped ladyfingers and cream.
- Cover and refrigerate for at least 2 hours, preferably overnight, to set.
- Before serving, dust the top liberally with cocoa powder.
Notes
Why This Classic Tiramisu Recipe Is the Real Deal
This isn’t your average no-bake dessert. Our version of Classic Tiramisu stays true to its roots with silky mascarpone, real espresso, and those perfectly crisp ladyfingers that soak up all the bold coffee flavor. It’s creamy, airy, and just the right balance of bitter and sweet—like a hug in dessert form.
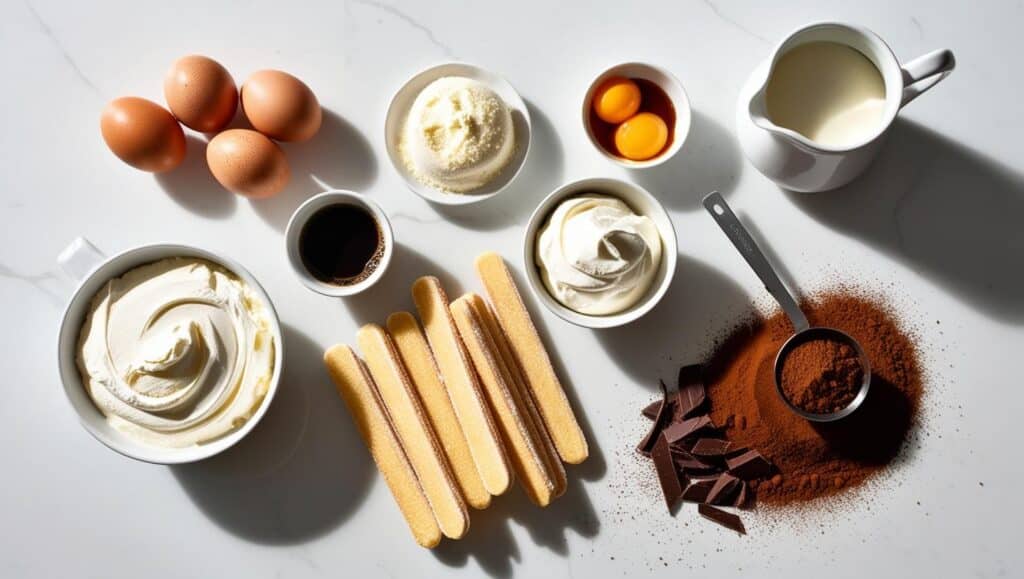
Ingredients for Classic Tiramisu
The secret to an authentic, creamy, and flavorful Tiramisu lies in high-quality ingredients. Keep it simple, and let the flavors shine!
1- Ingredients You’ll Need
- 6 large egg yolks – The base for a rich, silky mascarpone filling.
- ¾ cup (150g) granulated sugar – Sweetens the mascarpone mixture.
- 1 cup (240ml) strong espresso or coffee – Freshly brewed and cooled.
- 8 oz (225g) mascarpone cheese – The heart of tiramisu—rich, creamy, and slightly tangy.
- 1 ½ cups (360ml) heavy whipping cream – Makes the filling extra light and airy.
- 1 package (7oz/200g) ladyfingers (savoiardi biscuits) – Crisp and absorbent, perfect for soaking up espresso.
- Unsweetened cocoa powder – The finishing touch for a deep chocolatey contrast.
- Dark chocolate shavings (optional) – Adds extra texture and indulgence.

(Tip: Use the best-quality mascarpone and espresso you can find—it makes a huge difference!)
2- Step-by-Step: How to Make the Best Classic Tiramisu
- Whip the egg yolks and sugar.
In a heatproof bowl, whisk egg yolks and sugar together. Place over a pot of simmering water (double boiler style), whisking continuously for about 8–10 minutes until the mixture is pale and thickened. Remove from heat and let cool. - Make it creamy.
In a separate bowl, whisk the mascarpone until smooth. Gently fold it into the cooled egg yolk mixture. - Whip the cream.
Beat the heavy cream until stiff peaks form. Fold it gently into the mascarpone mixture to keep everything light and fluffy. - Soak the ladyfingers.
Dip each ladyfinger briefly (don’t soak too long!) into the cooled espresso. Arrange them in a single layer in a 9×13-inch dish or trifle bowl.

5. Layer it up.
Spread half the mascarpone cream over the ladyfingers. Repeat with another layer of dipped ladyfingers and the remaining cream.
6. Chill and serve.
Cover and refrigerate for at least 6 hours (overnight is even better). Just before serving, dust with unsweetened cocoa powder and sprinkle with dark chocolate shavings if using.
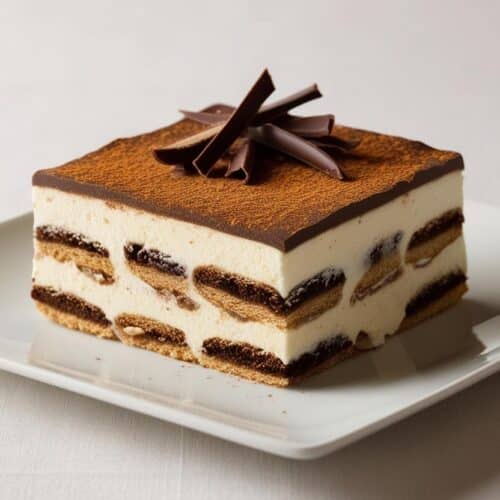
This classic tiramisu is light, airy, and packed with deep coffee and mascarpone flavors.
2. Fun Serving Ideas
Tiramisu Cups:
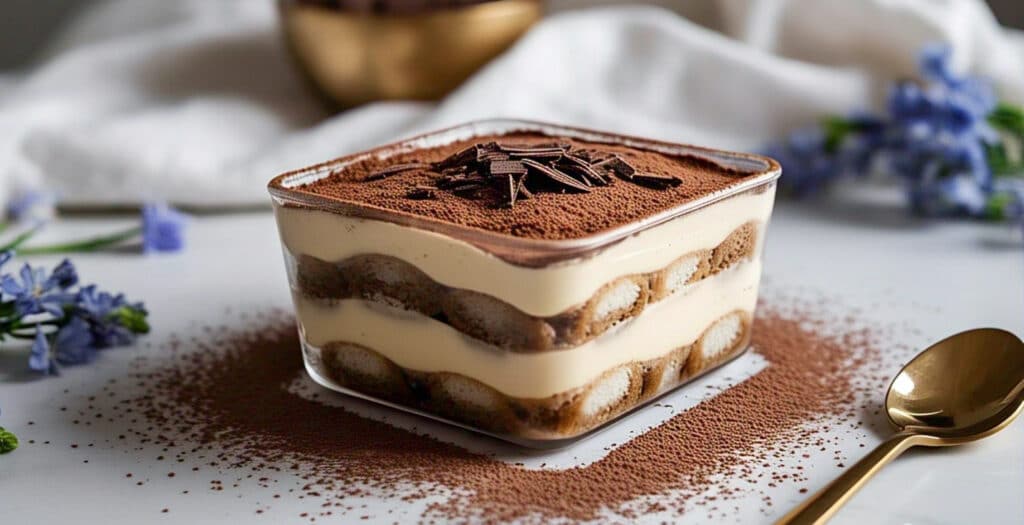
- Assemble tiramisu in individual glasses or mason jars for a cute and elegant dessert!

Tiramisu Cake:
- Layer it in a springform pan for a more structured, sliceable version.
Frozen Tiramisu:
- Freeze it for 2–3 hours for a refreshing summer treat—almost like an ice cream cake!
Tiramisu Pancakes:
- Layer mascarpone cream between pancakes and drizzle with espresso syrup.
No matter how you make it, Tiramisu is always a show-stopper!
A Little Story From My Kitchen
I first made tiramisu during a snowed-in weekend, convinced it would be complicated. But after one spoonful—light, creamy, with a bold espresso kick—I knew it was worth every step. Now, it’s my go-to dessert when I want to impress without stress.
Tips for the Perfect Tiramisu
- Use real espresso if you can—it gives a bolder flavor.
- Don’t soak the ladyfingers too long. A quick dip is all they need!
- Chill overnight. The flavors meld and the texture sets perfectly.
How to Store & Keep classic Tiramisu Fresh
1. Storing Leftovers
In the Fridge:
- Cover the dish tightly with plastic wrap or transfer leftovers to an airtight container.
- Keep refrigerated for up to 4 days—the longer it sits, the more flavorful it gets!
In the Freezer (Yes, You Can Freeze It!):
- For best results, freeze before dusting with cocoa powder to prevent excess moisture.
- Wrap the entire dish tightly in plastic wrap and aluminum foil, or store slices in freezer-safe containers.
- Freeze for up to 3 months.
2. How to Thaw & Serve Frozen Tiramisu
- Let it thaw in the fridge overnight before serving.
- Dust with fresh cocoa powder before serving for that just-made look!
(Tip: Frozen tiramisu can be enjoyed like an ice cream cake—no need to thaw completely!)
Now you know how to keep your Tiramisu fresh and delicious!
FAQs About Classic Tiramisu
What’s the best coffee to use in tiramisu?
Freshly brewed espresso or very strong coffee works best. Just make sure it’s cooled before dipping.
Can I make this without raw eggs?
Yes! Cooking the egg yolks over simmering water (as we do here) reduces safety concerns while preserving that velvety texture.
What if I can’t find mascarpone?
You can substitute with a mix of cream cheese and heavy cream, though it won’t be quite the same. Mascarpone is worth the hunt!
Is tiramisu really better the next day?
Absolutely. The flavors intensify and the texture firms up beautifully overnight.
Final Thoughts
Wrap-Up: Make Tiramisu Your Signature Dessert
There’s something so satisfying about serving Classic Tiramisu—it feels elegant, effortless, and a little bit magical. It’s that kind of dessert that gets people asking, “Wait… you made this?” And you’ll just smile, maybe dust off a little cocoa from your shirt, and say, “Yep.”
For more Recipes to Try
Looking for citrus-inspired desserts? Check out this recipe:
- Chocolate Orange Cake Recipe: Explore a richer take on orange desserts by combining chocolate and orange for a sophisticated treat.


1 thought on “Classic Tiramisu: The Best Italian Recipe”
Comments are closed.